
Here's How You Can Take The Best Photographs Of Your Home
Turning Your Home Into Art
Why you ask? I ask why not. It is your home after all. You have made an effort to add personal touches to it. You have spent time creating an aesthetically appealing and emotionally comfortable space for you and your family. Why not create memories that capture that effort, with photographs. It could be an annual family project, especially if you re-design your house often. When you look back at the photos you can compare the changes you have made through your years living there.
Another way the photos could help is if you are a hospitable host, you could list your space on platforms like AIRBNB or COUCHSURFING. Good pictures will always get you faster bookings.
Have a read on how you can achieve this with a little bit of effort.
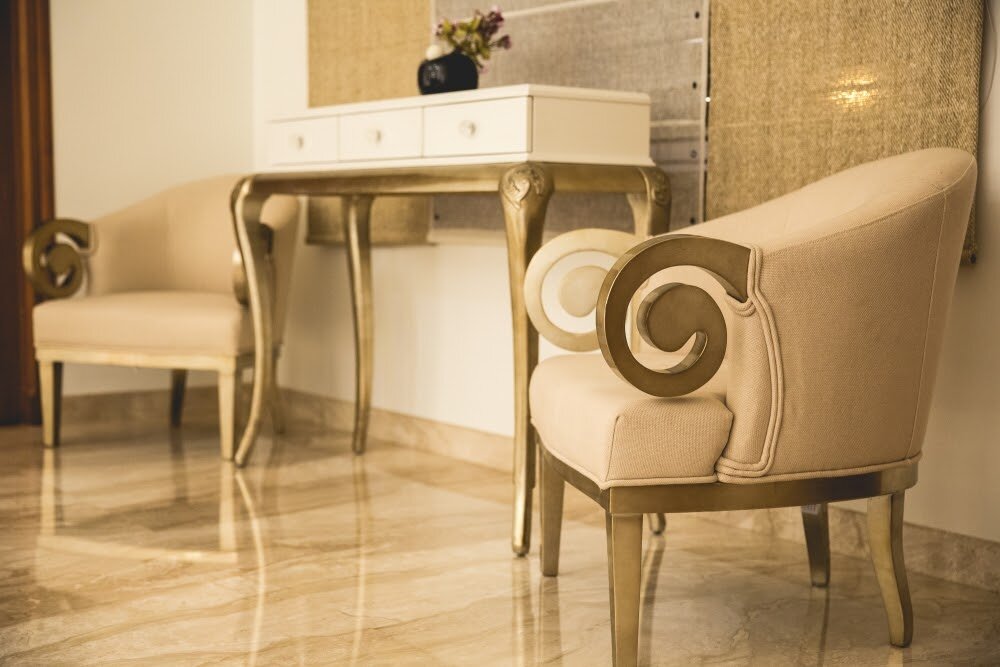
1. DÉCOR
Reduce clutter: Some areas of the house are more difficult to declutter than others. Your living room, for instance, should be an easy place to begin. Redundant objects can be removed without much thought and put away in storage. Once you set up your camera, look through the lens and see how the room appears in the frame. In case it's not possible to remove all the clutter, you may have to use your photography angles that best captures a portion of the room. You may use editing technology later to crop out the unwanted bits.
Arrange furniture neatly: If the rooms are big enough, pushing back the furniture won't be a challenge but don't push them back to the walls. You may like to keep some space between the wall and the back of the furniture. I’m a stickler for symmetry so I would usually try and arrange the room in a way that looks balanced. This may not always be possible, and that’s fine. You can create your own arrangements based on the pieces of furniture and size/shape of the room.
Buy some simple accessories – flowers, cushion covers, maybe matching curtains, etc. can enhance the interiors without much expense. Be careful about shining objects such as mirrors, glass, crystal or metal. You might be visible in them while taking the shot. They could also create a hot-spot with too much light being reflected from one area. Or, you may use them to your advantage if you are thinking about creating a bright corner.
Cleaning the house would be a good idea - Especially places that have been neglected for a while. Could show up in the shots and ruin the look. Be especially mindful of the areas people visit more than other places. Straighten the things, mop it clean, and rearrange a piece of furniture that has not been used for long, if needed.
2. LIGHTING – choose one of the following
Artificial lighting – you would need to understand lighting equipment and how to use it correctly with your camera setting. If done well, this can make the spaces in your house look stunning. You will get an embellished effect across the house using artificial lights to enhance the way it looks in photographs.
Natural light – use the natural light that comes in. It will provide a more true to life reproduction of how your house looks. Natural light streaming in through the windows will be the ideal for shooting. The natural lighting coming through the window has one direction, and that's an advantage. It creates a natural shadow and gives the photograph the life it needs. While shooting near the window, it's best if you can wait till the time the day is at its brightest. Shooting with natural lighting can make a difference in areas of highlights and the shadows in the corners.


Mixed-light – natural light + lights that are fitted in your house. Use lamps, wall lights, etc. in different ways. You can turn on/off lights based on what you think looks best. You can define the location and analyze the scope of shooting. It would help if you understood the environment before shooting. Determine the number of light sources at the location by looking for windows and overhead lights. You may consider the colour temperature and set the colour temperature manually to match the light available. You may use a grey card to analyze the condition of light.
3. EQUIPMENT
Lens – wide-angle lenses are helpful when shooting interiors. Unless you live in a mansion, most houses require at least a 24mm or equivalent lens to capture the entire space. You may need a wider lens with a short focal length between 14 and 35mm, depending on your room's size. Wide-angle lenses capture a broader area in a single shot. It is suitable for both interior and landscape. Another advantage of these lenses is to create depth of the field. On the flip side, the longer the focal length, the more bokeh and background blur you can achieve.
Tripod – having a tripod or some secure base for the camera would be helpful. It will help to frame your shot. You can look at the display screen on the camera to make adjustments in your frame. Fix furniture etc. if it's not in the correct place. Using a tripod also allows you to shoot with slower shutter timings. So, if the indoor light is not adequate, you will still get a well-exposed shot.
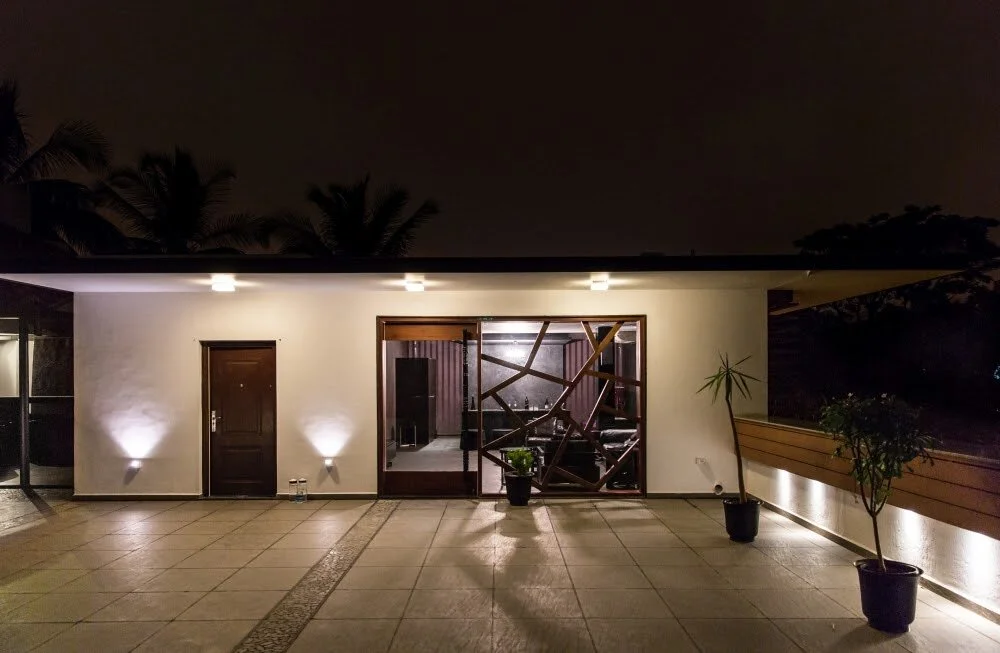
4. TIME
Day shots – observe the best time light is coming into the house. Plan your shoot around that. You can take advantage of the light during the early morning when the sun is rising (or late evening, depending on the direction your windows get light from). You have to use a tripod to take a sharp picture. If natural light isn’t adequate it can be compensated with some artificial source of light. Otherwise, you may like to create a mood with light and shadow play.

Night shots – if your house is in a city and offers a view of city lights in the evening, you could try shooting with the windows open to capture that aspect. A heavy and sturdy tripod will be helpful for night photography. Dim lights require a long and steady camera exposure.
5. POST PRODUCTION
Editing can enhance your images – Exposure, contrast, saturation, etc. can be boosted in required. Digital files, especially RAW files, present a flat output. They give you the flexibility to tweak your photos based on the look and feel you want to create for the images. You can use a camera raw filter. There is Photoshop that has an option of a camera RAW interface.
Clean up - Blemishes that you may not have noticed while shooting can be eliminated using editing software. Don’t worry, it’s not cheating unless you’re a photojournalist!
Panoramas – If you have taken a series of shots to create a panorama you will need to use software to stitch these together. This process would be useful for small spaces where your camera lens is not wide enough to capture. Or even really large, wide spaces which don’t fit in the lens. You can pan the camera from one side to the other while taking a series of shots. This will cover the entire view.
Focus stacking and Exposure bracketing - These are other techniques that would require post-processing for the final output. You can easily learn how to use focus stacking to get sharper shots. You should choose the scene and stabilize the camera. You may use a tripod if possible. With every shot you need to adjust focus from the farthest object to the nearest (or vice-versa). This, again, becomes a series of images with different focus points. Using software can then stack the images at these focus points into one image that has infinite focus all across.